Using live moss with ceramic sculptures
As you might’ve seen from my sculptures, my ceramic’s isn’t smooth or clean cut and I don’t like to my work to be perfect. Since I’ve begun making ceramics, I like my work to have that aged ‘feel’.


If you look around at a historic garden or even a sculpture that’s been left outside for years you’ll notice that moss is everywhere, it projects an ancient quality that can’t be made quickly. Algae, liverworts, and lichen run along the same groove, these are found in damp or shady places in the garden too.
Moss?
I’m talking about moss today. It’s a plant that has over 600 species in the UK, growing in all sorts of shapes, colours, and sizes; In the UK, we have a damp climate enabling moss to grow like Topsy! Where I work, I have mixture of the usual varieties; Swan’s-neck thyme moss, Silky forklet moss, Springy turf moss, Rough-stalked feather moss, Sphagnum moss, and Common striated feather-moss. That’s just the 6 varieties in my garden I know about! Moss is very tactile, soft and squidgy, but very damp and slimy too.
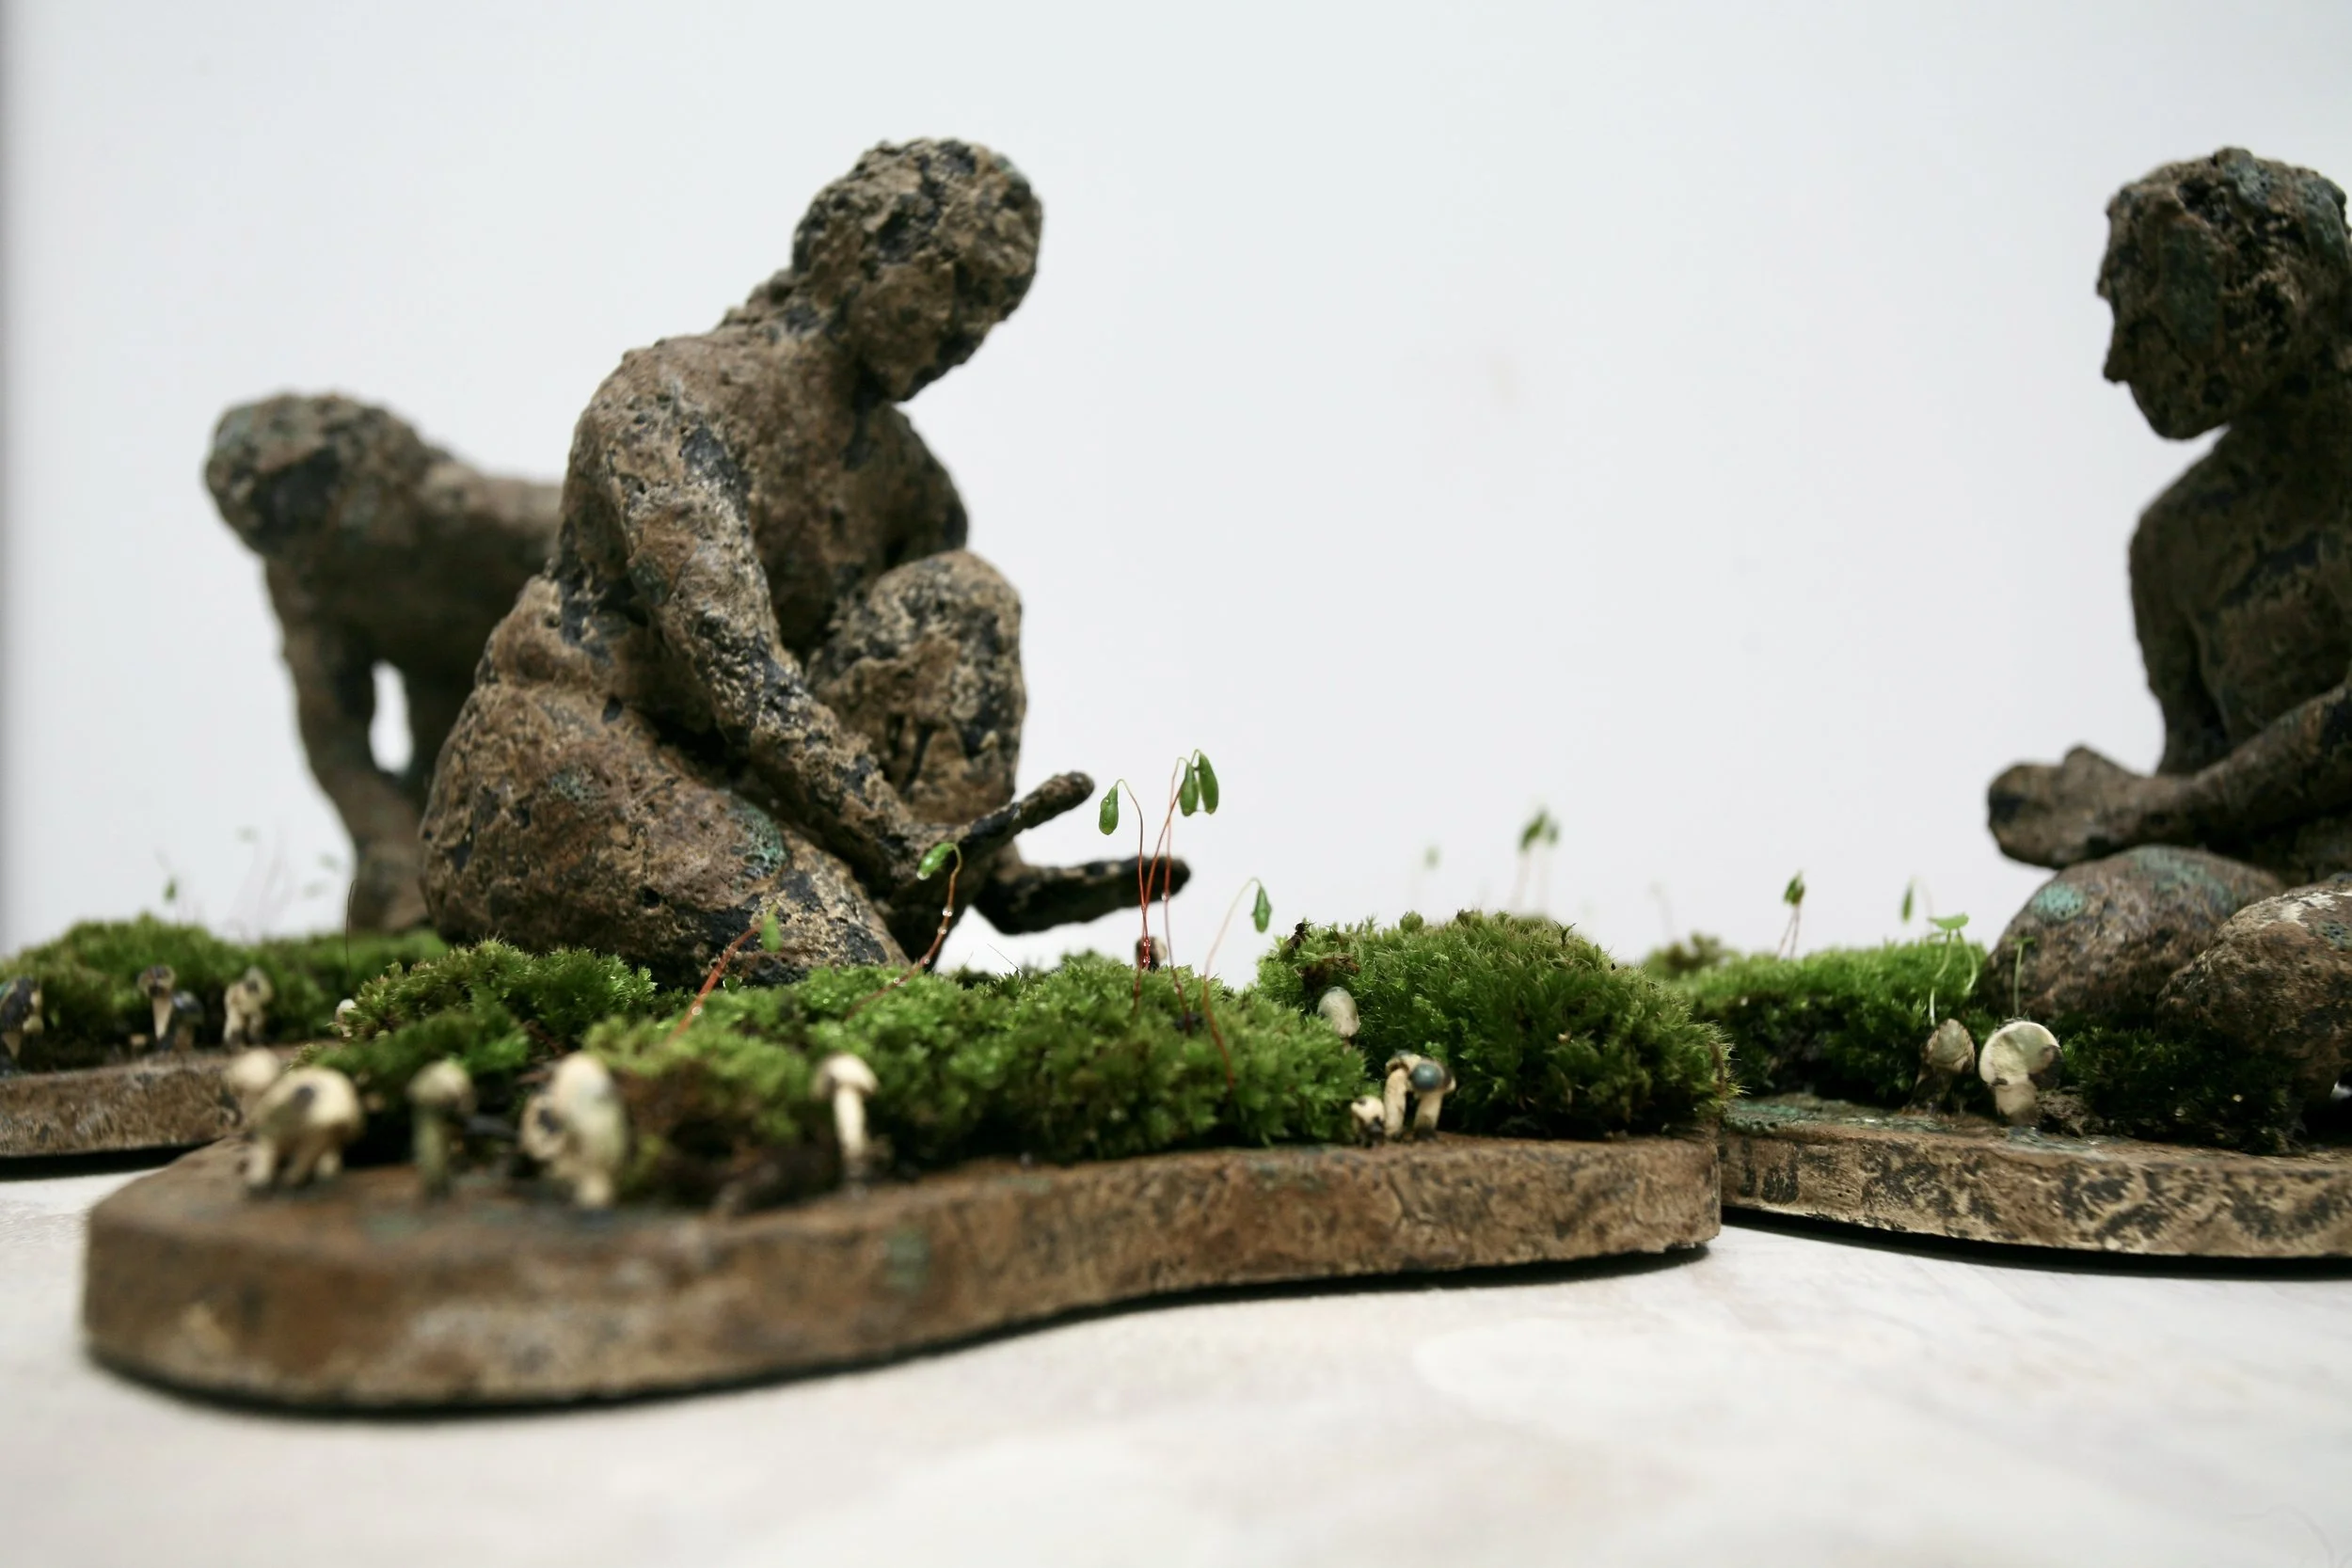
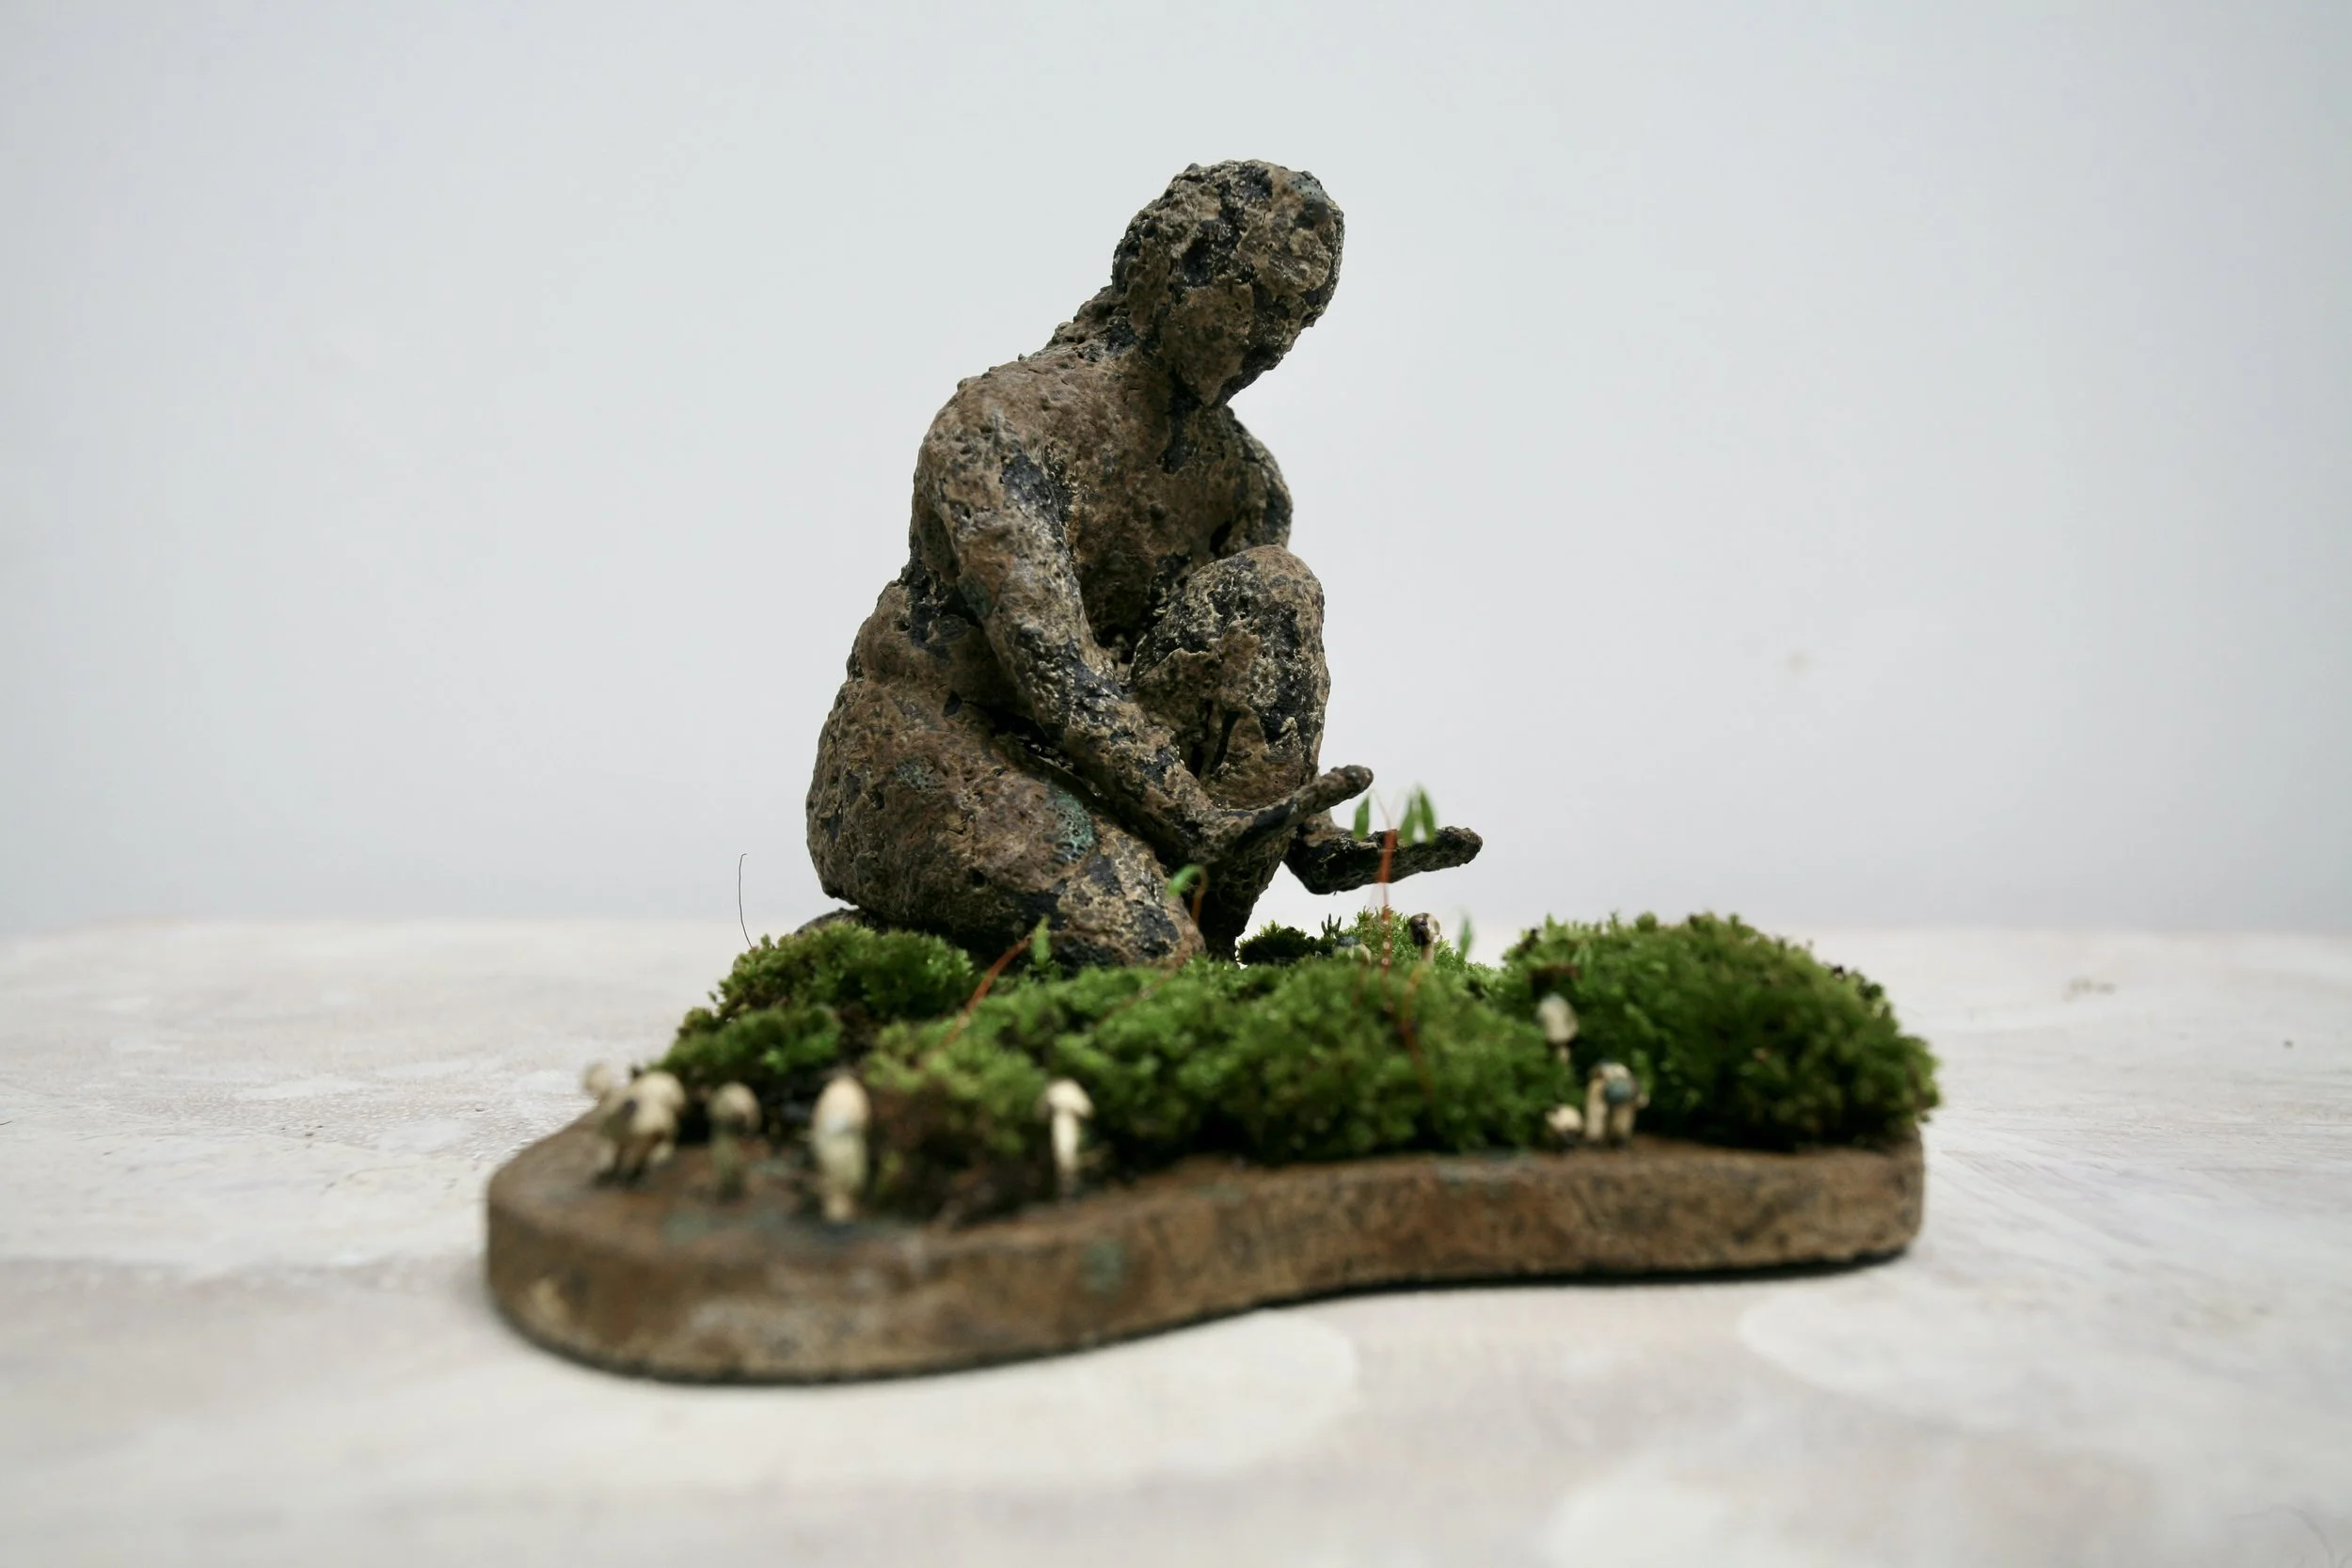
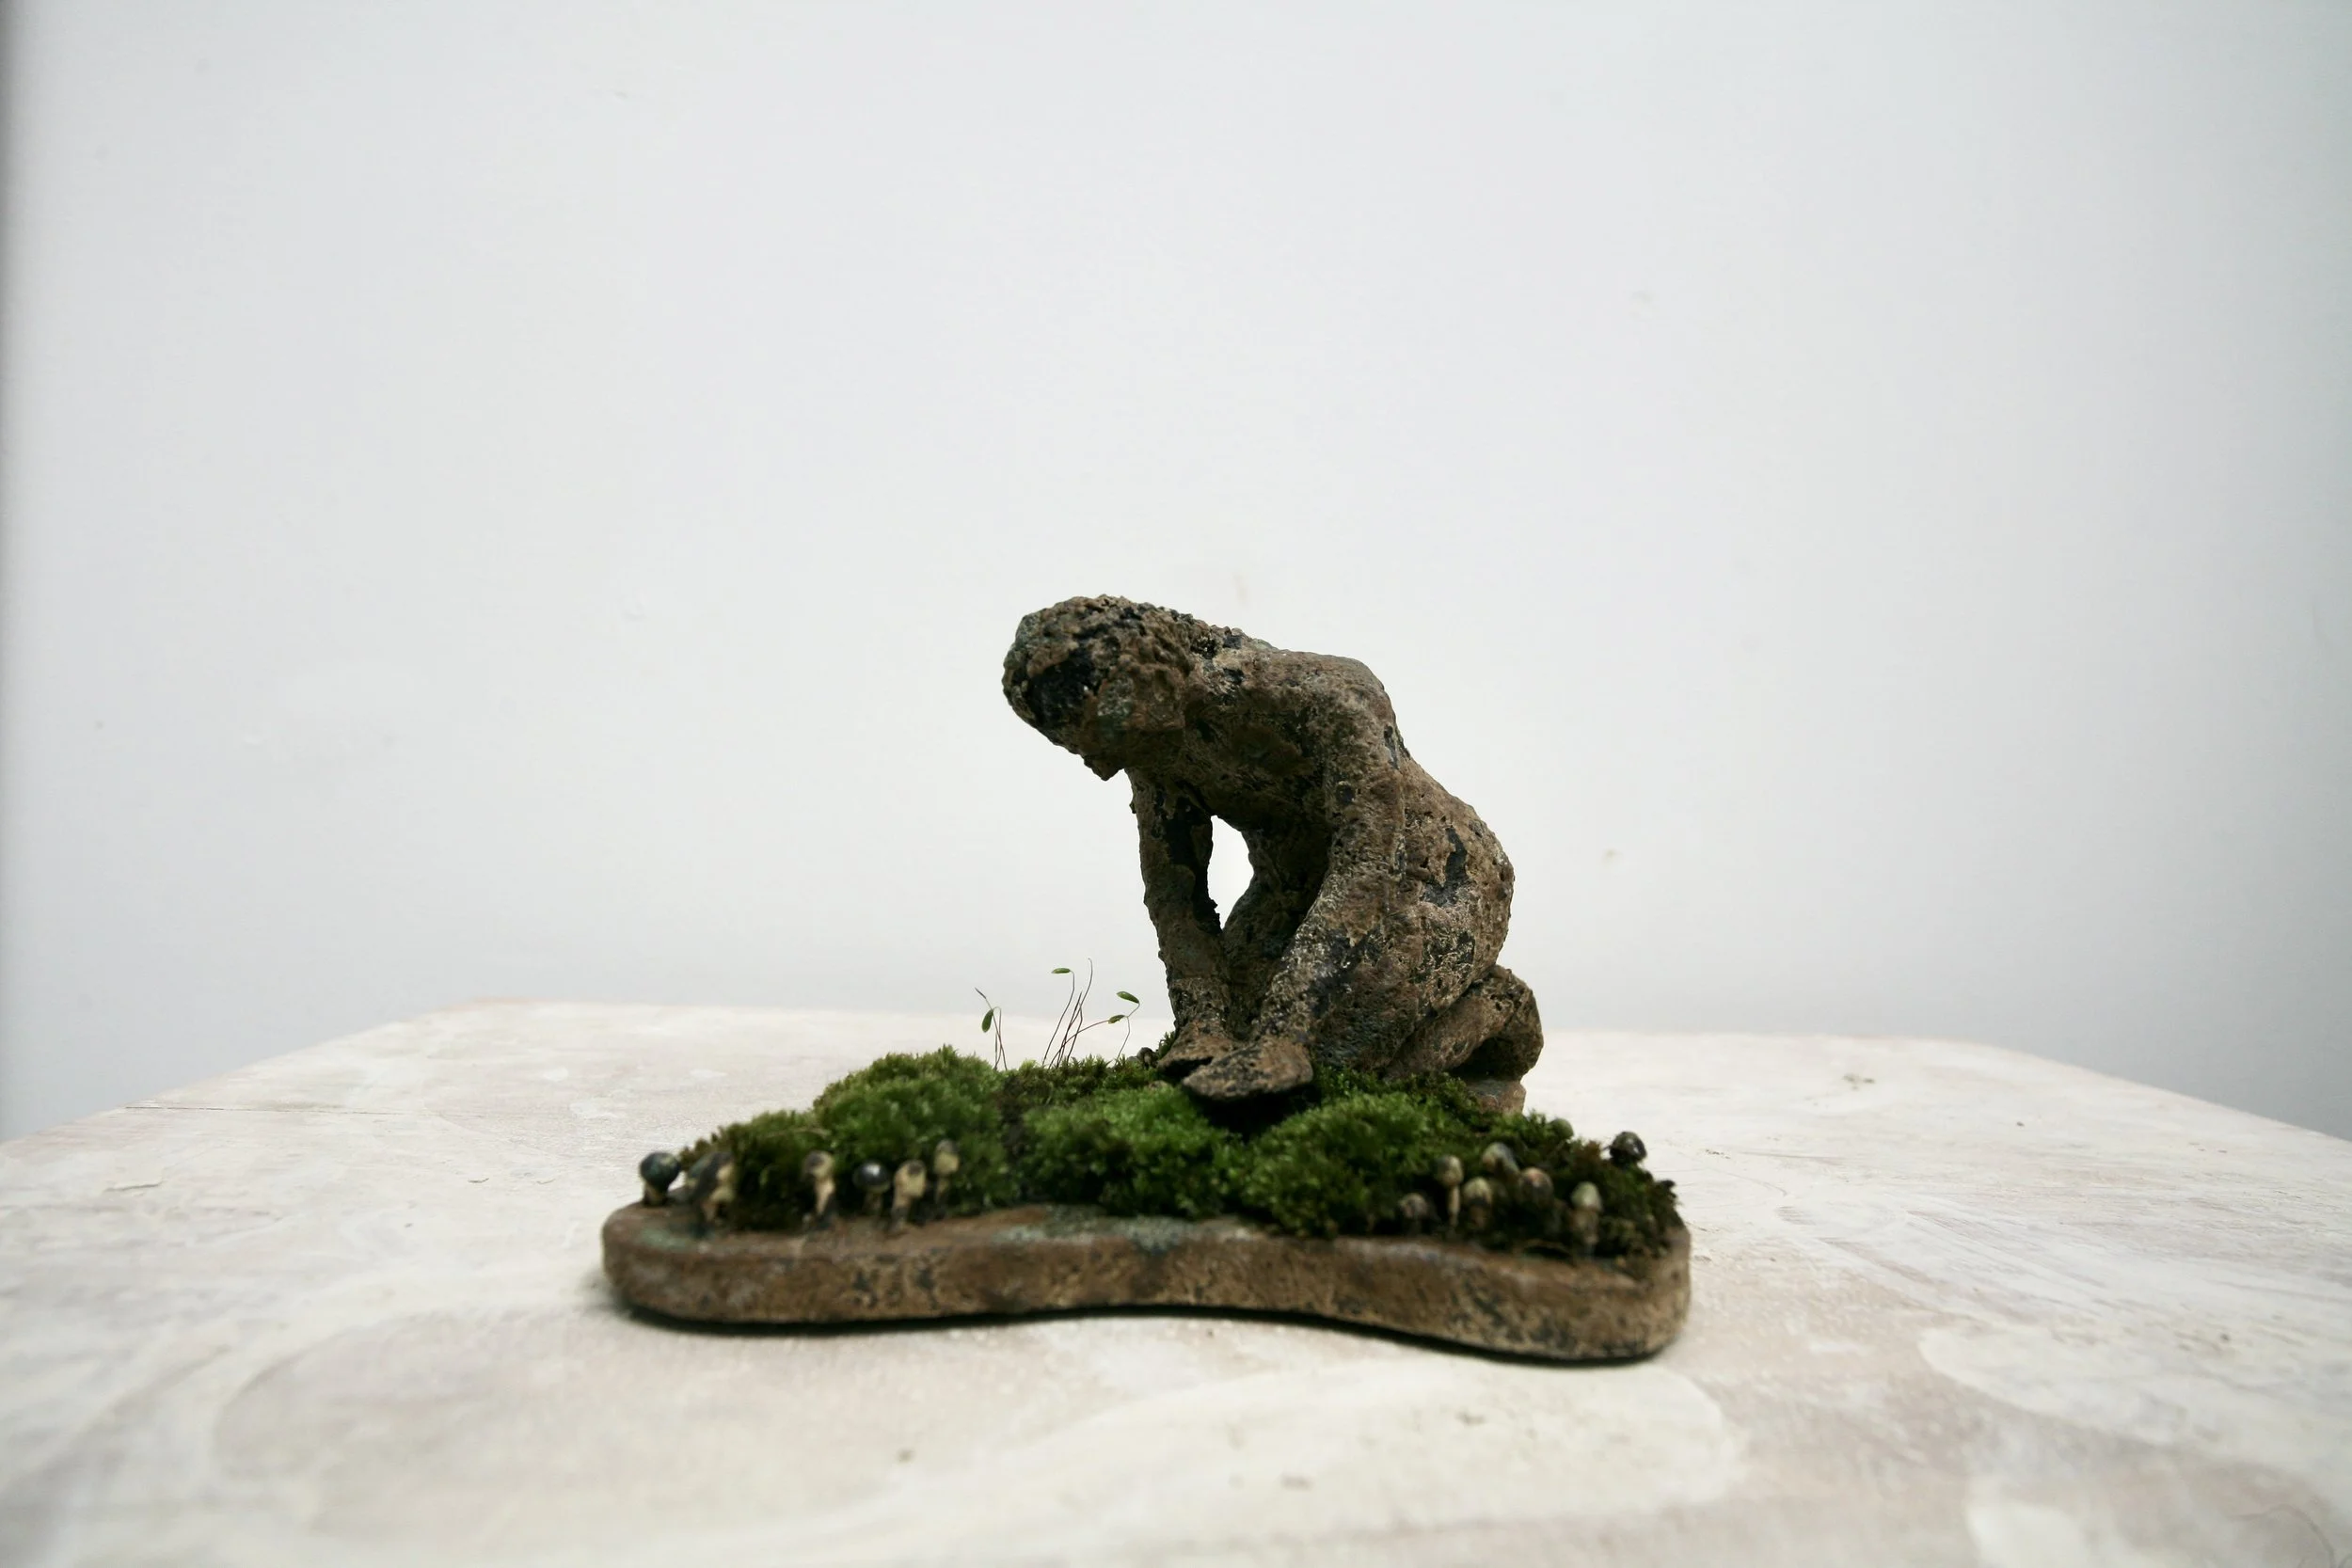
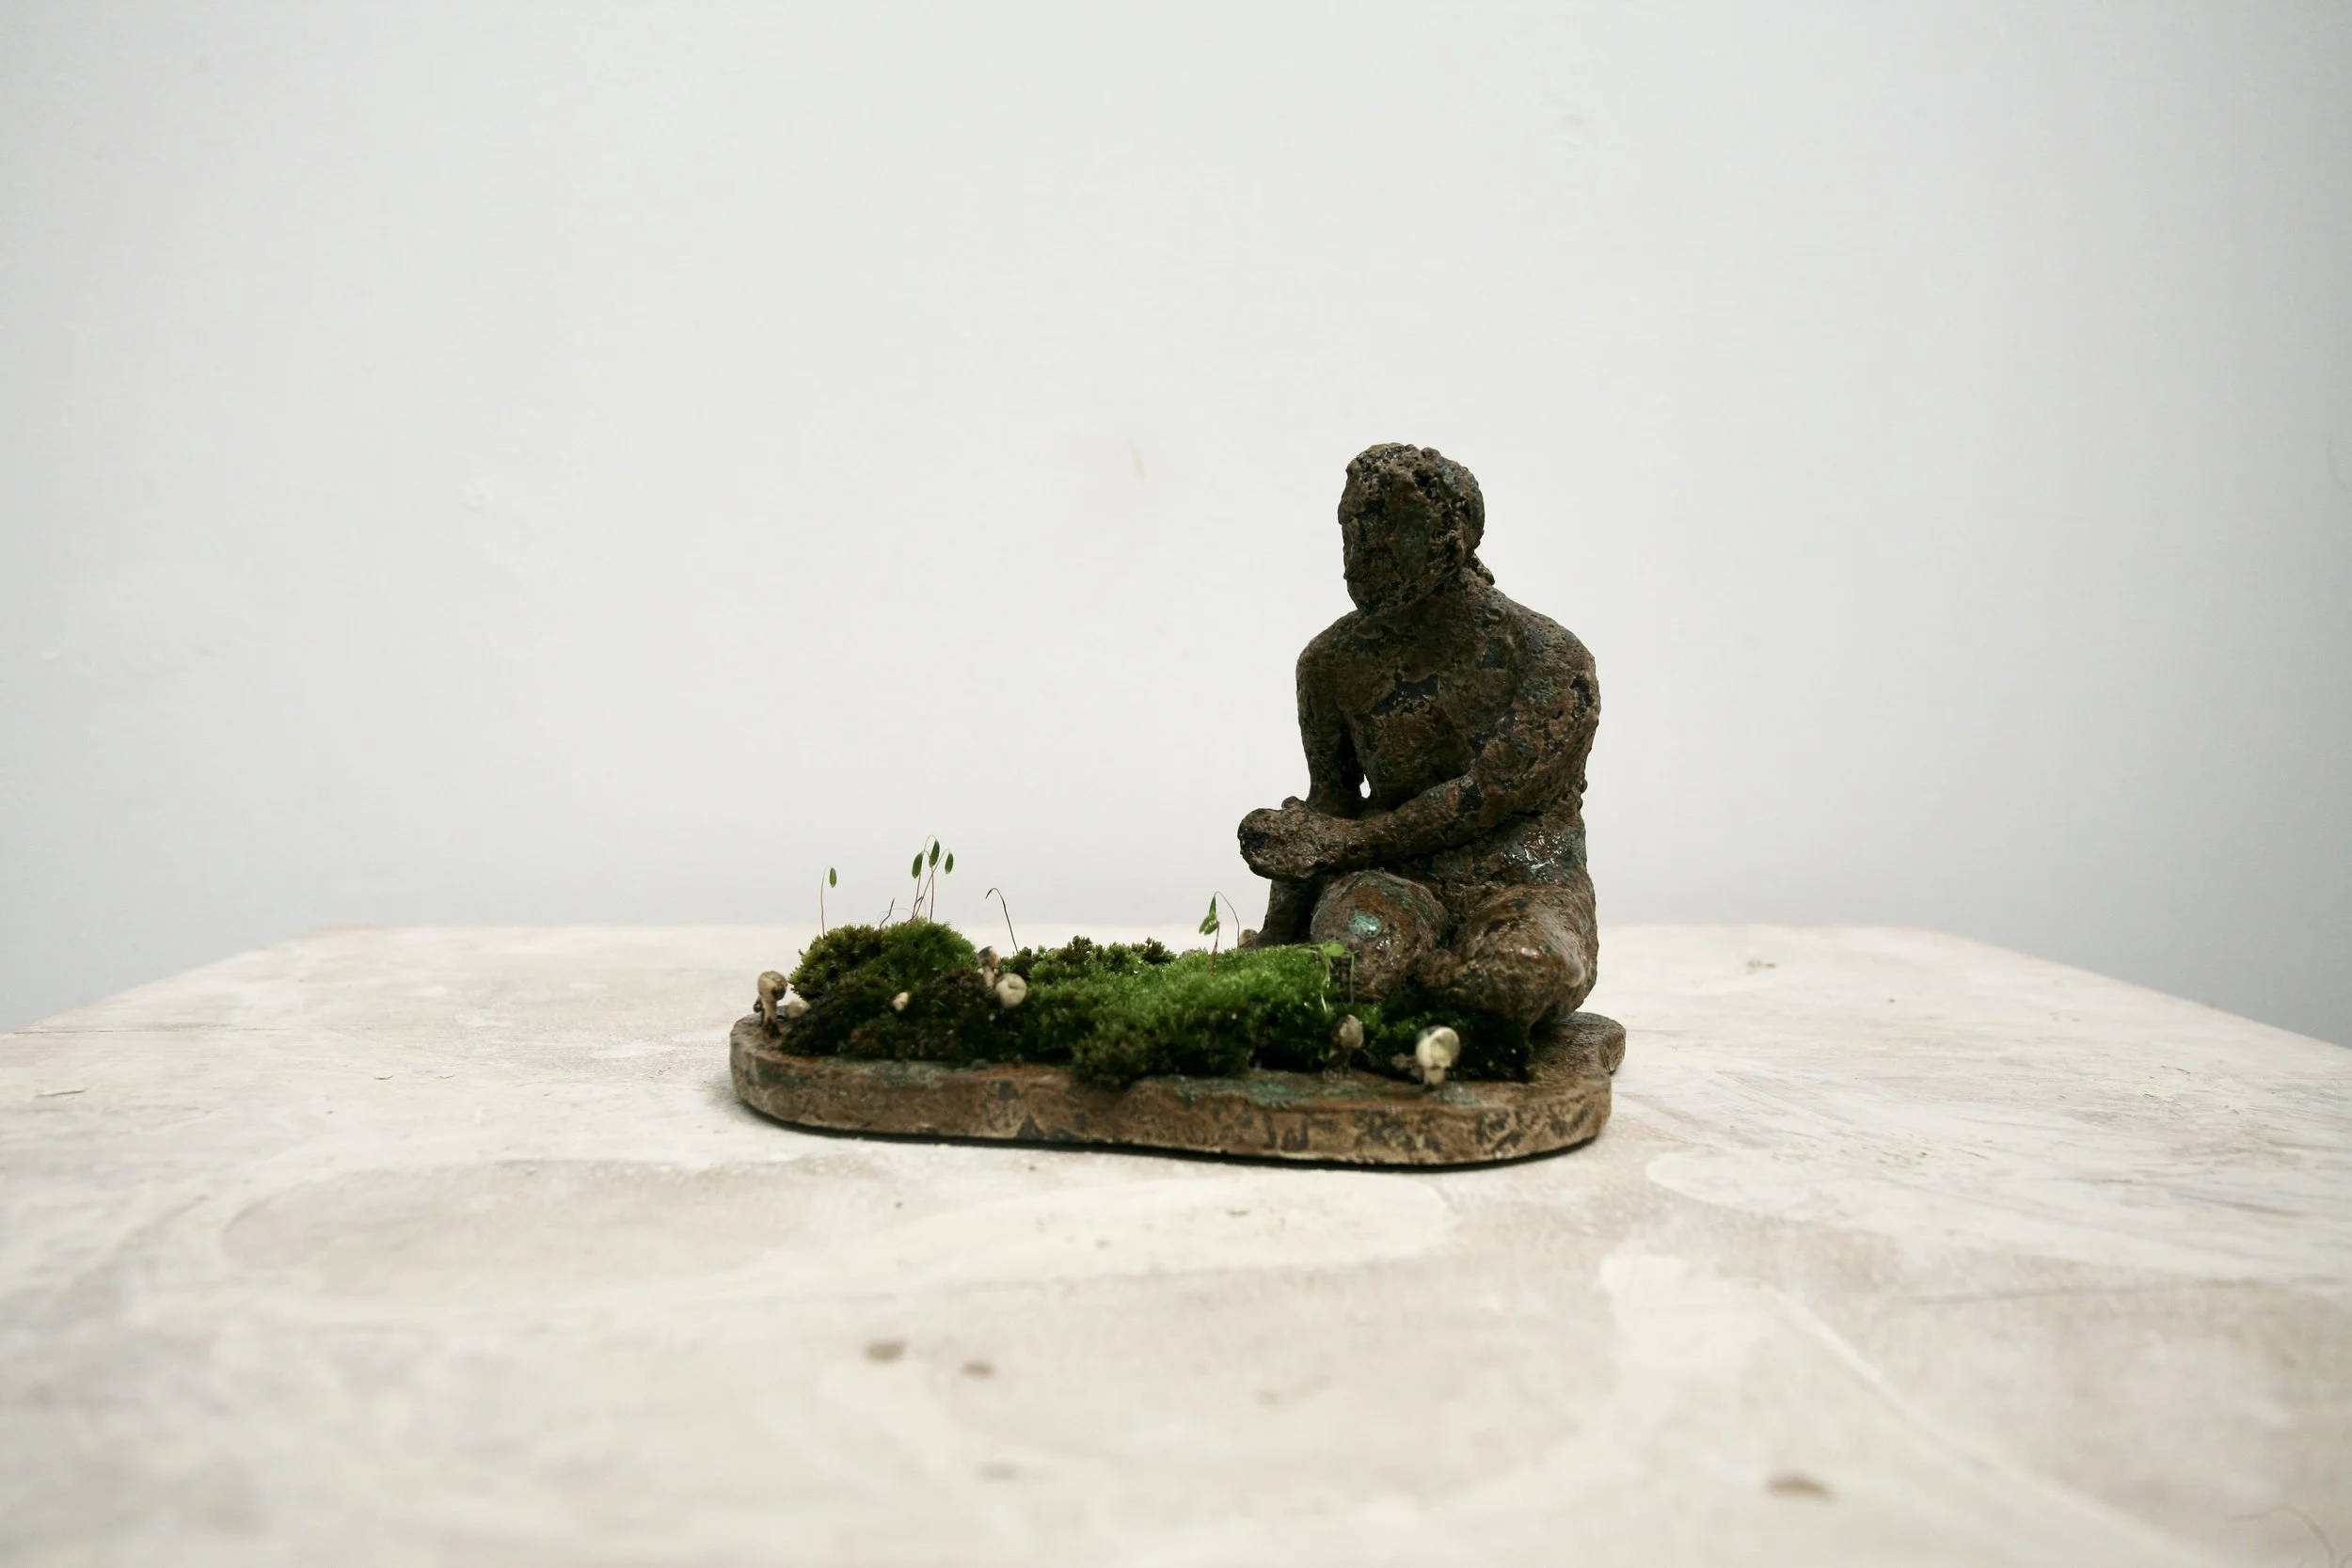
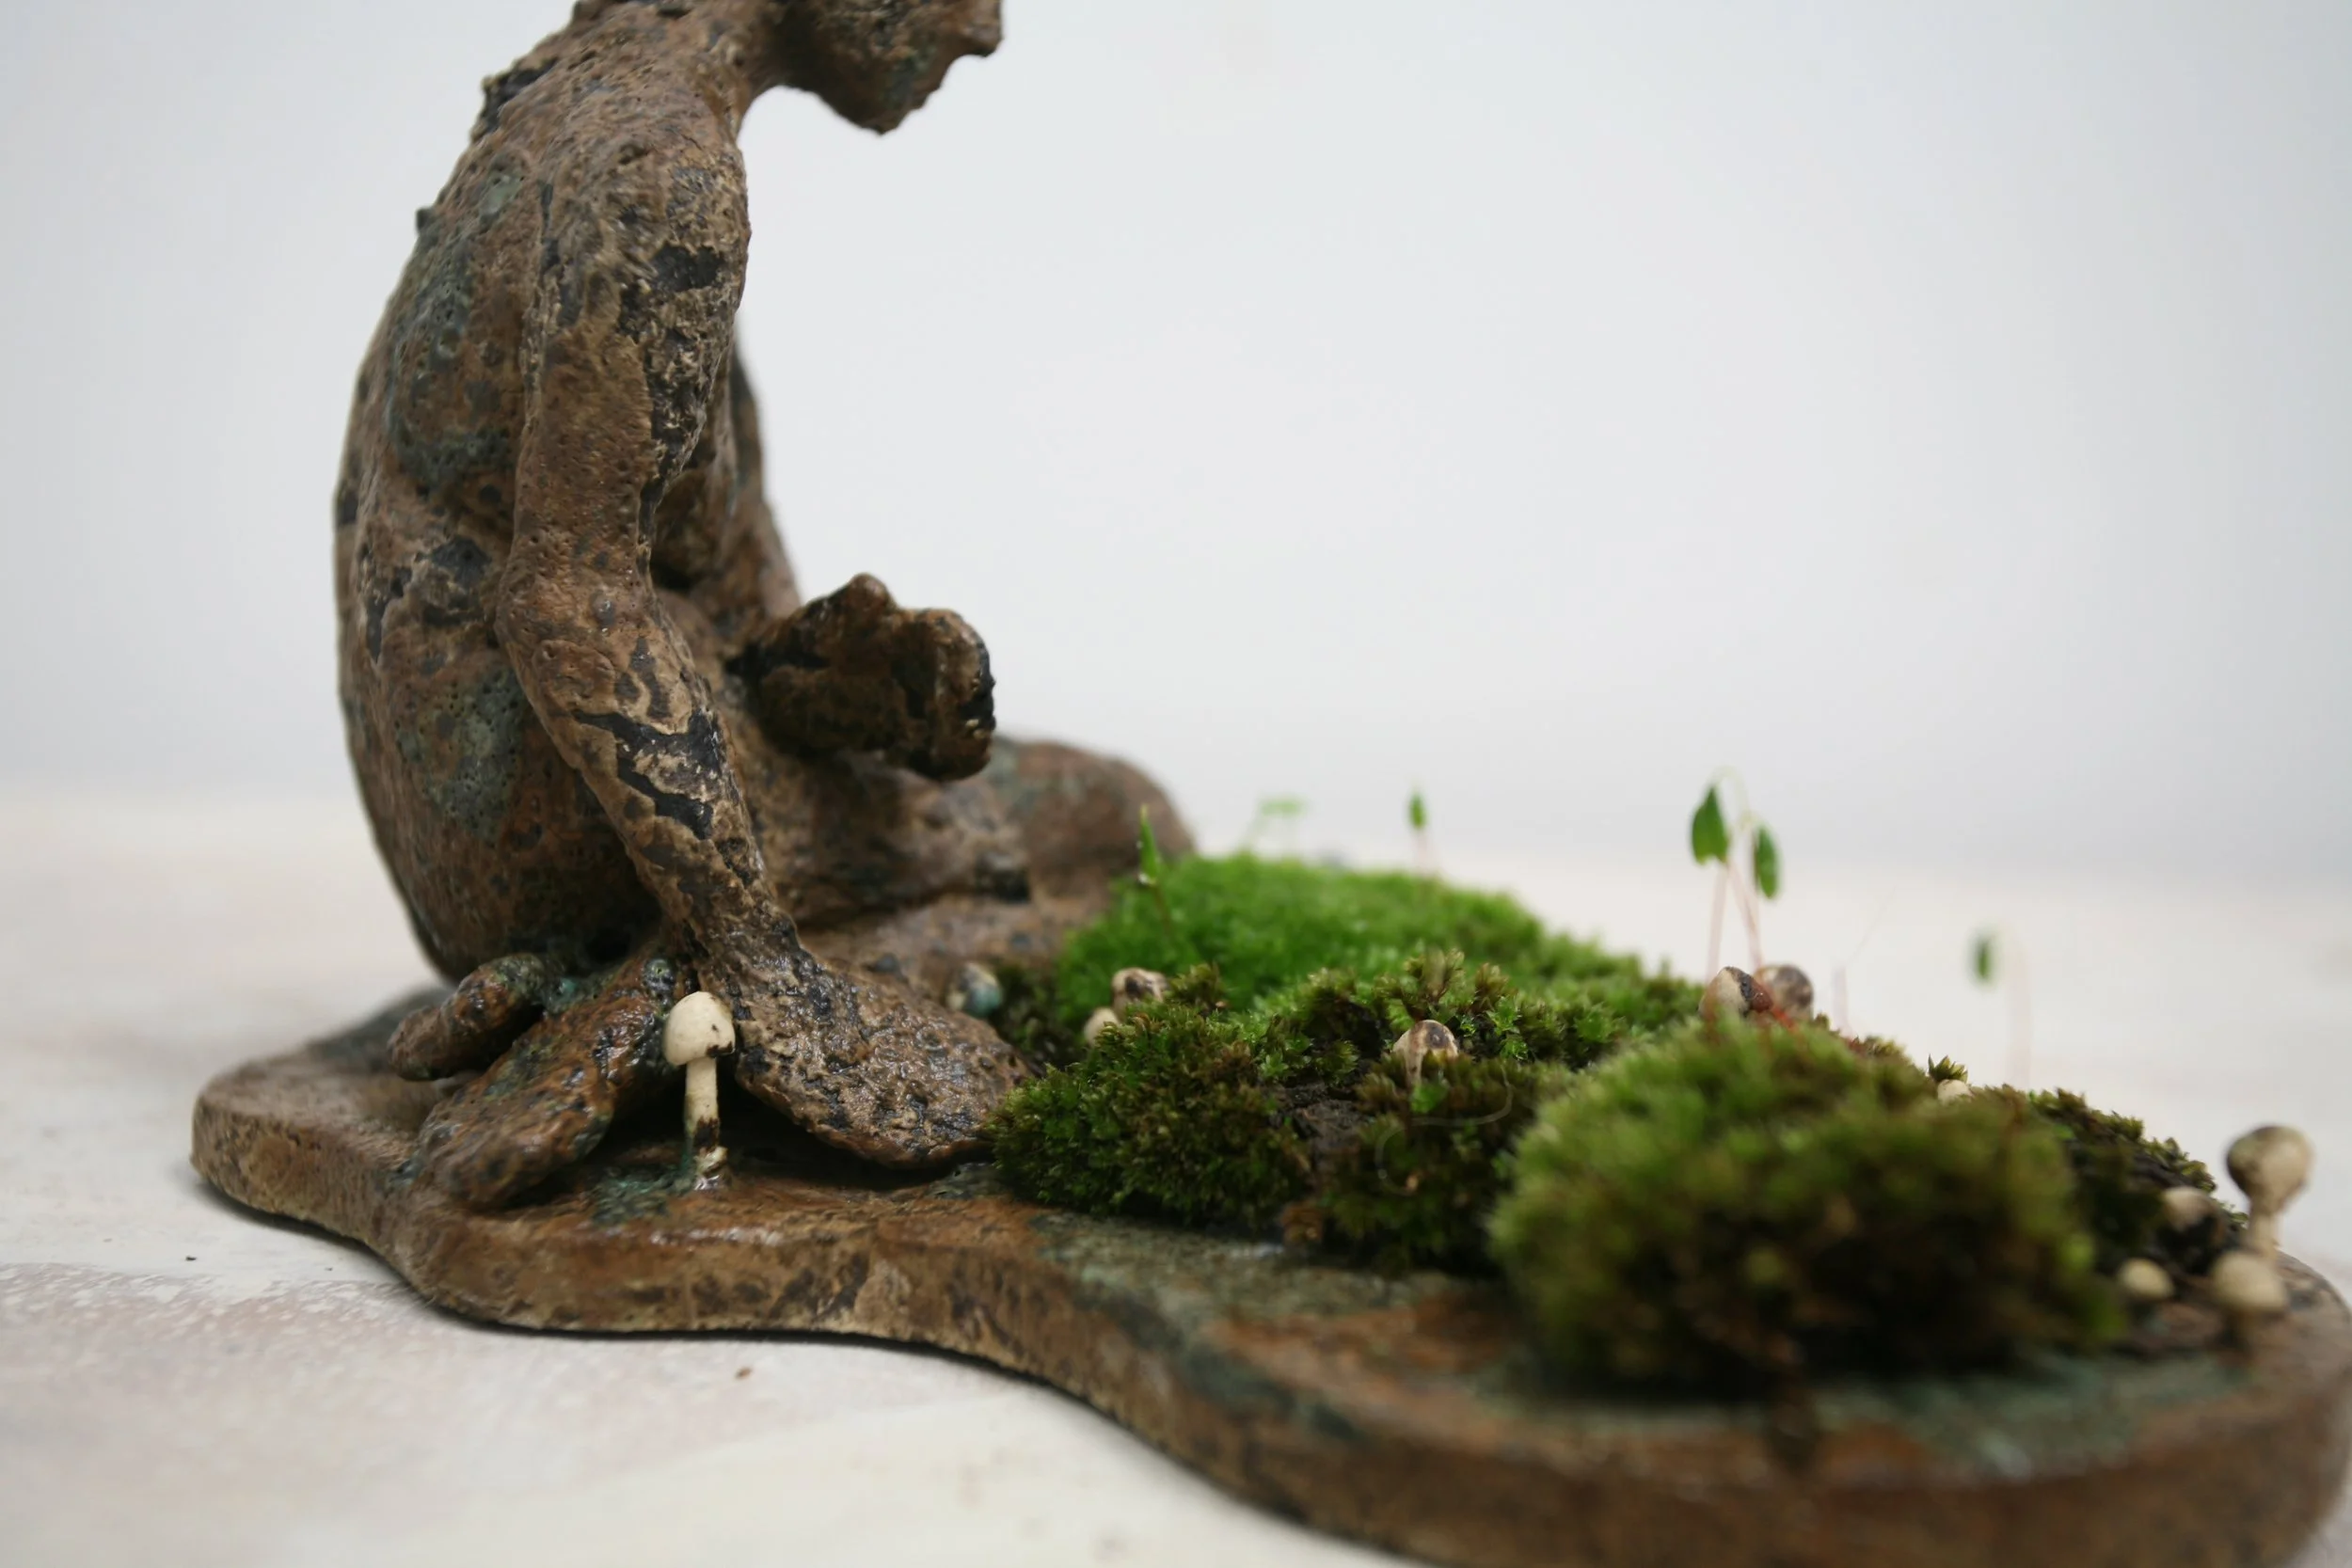
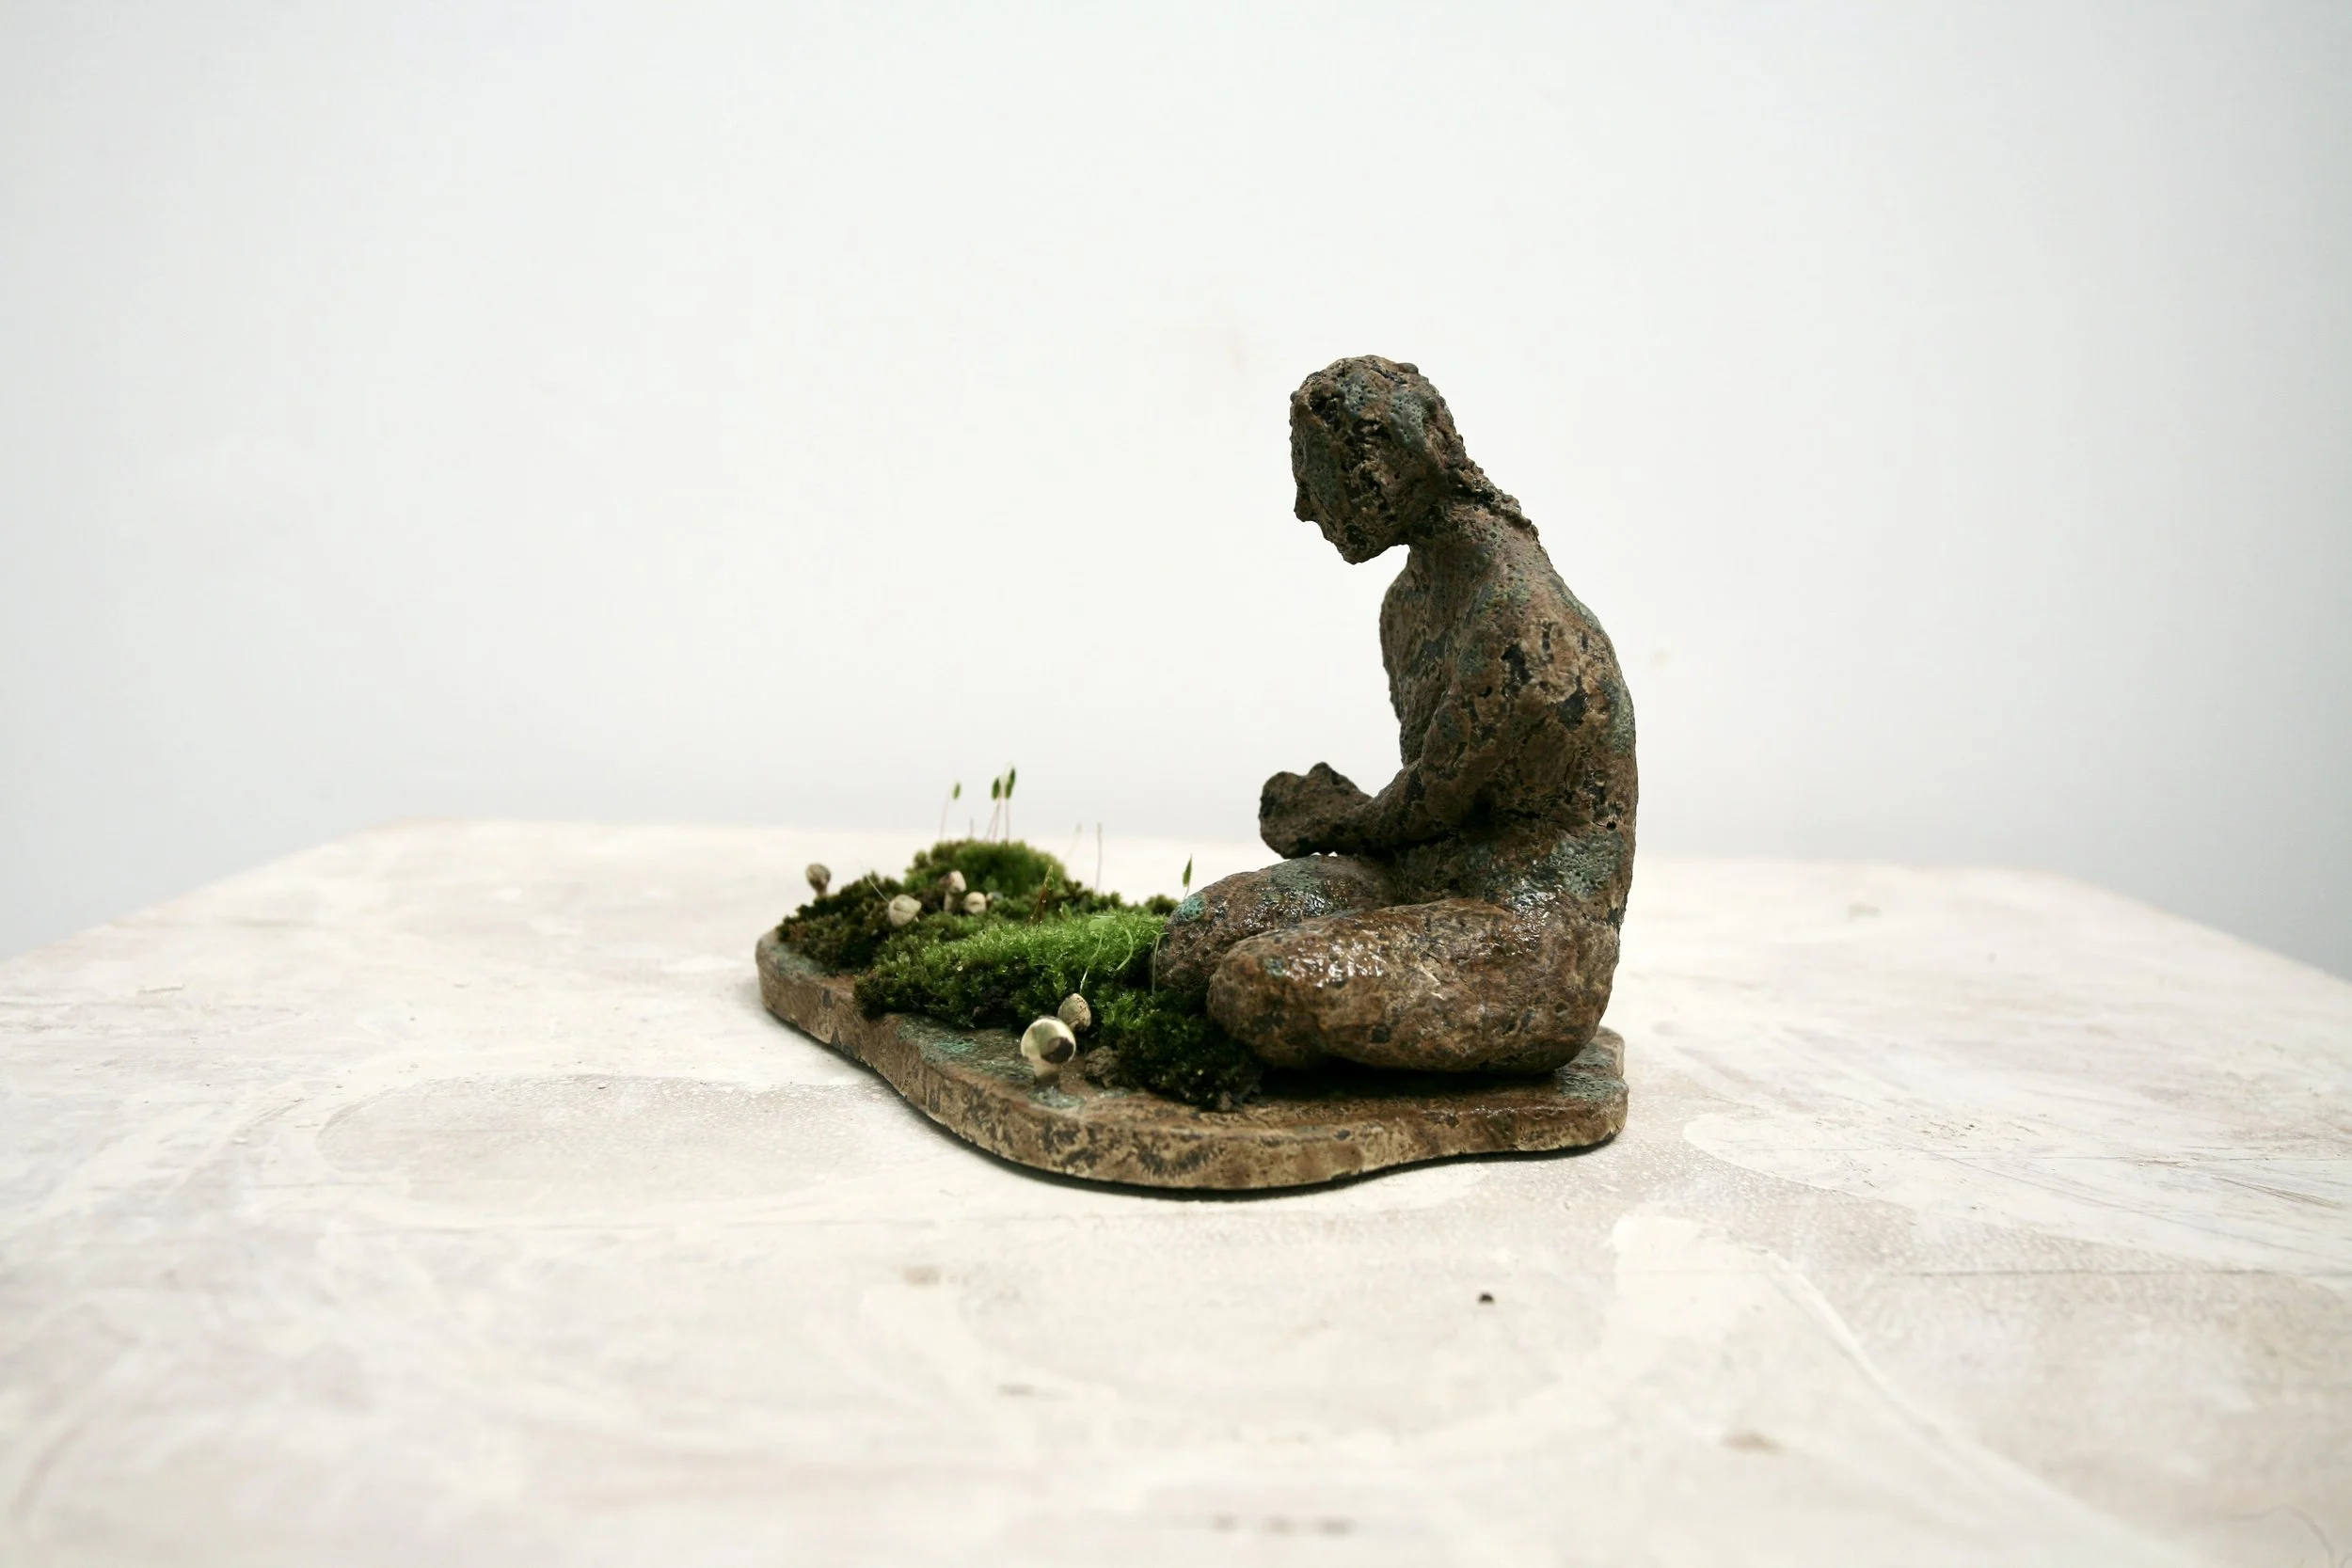
I wanted to collect moss for 3 garden sculptures I’d made, using the moss as the ‘garden’ part but I’d also like the most to grow around the sculptures over time. On the bases of my sculptures are fragile cup mushrooms in a white clay, blotted with my usual greeny/blue glaze on and around them.
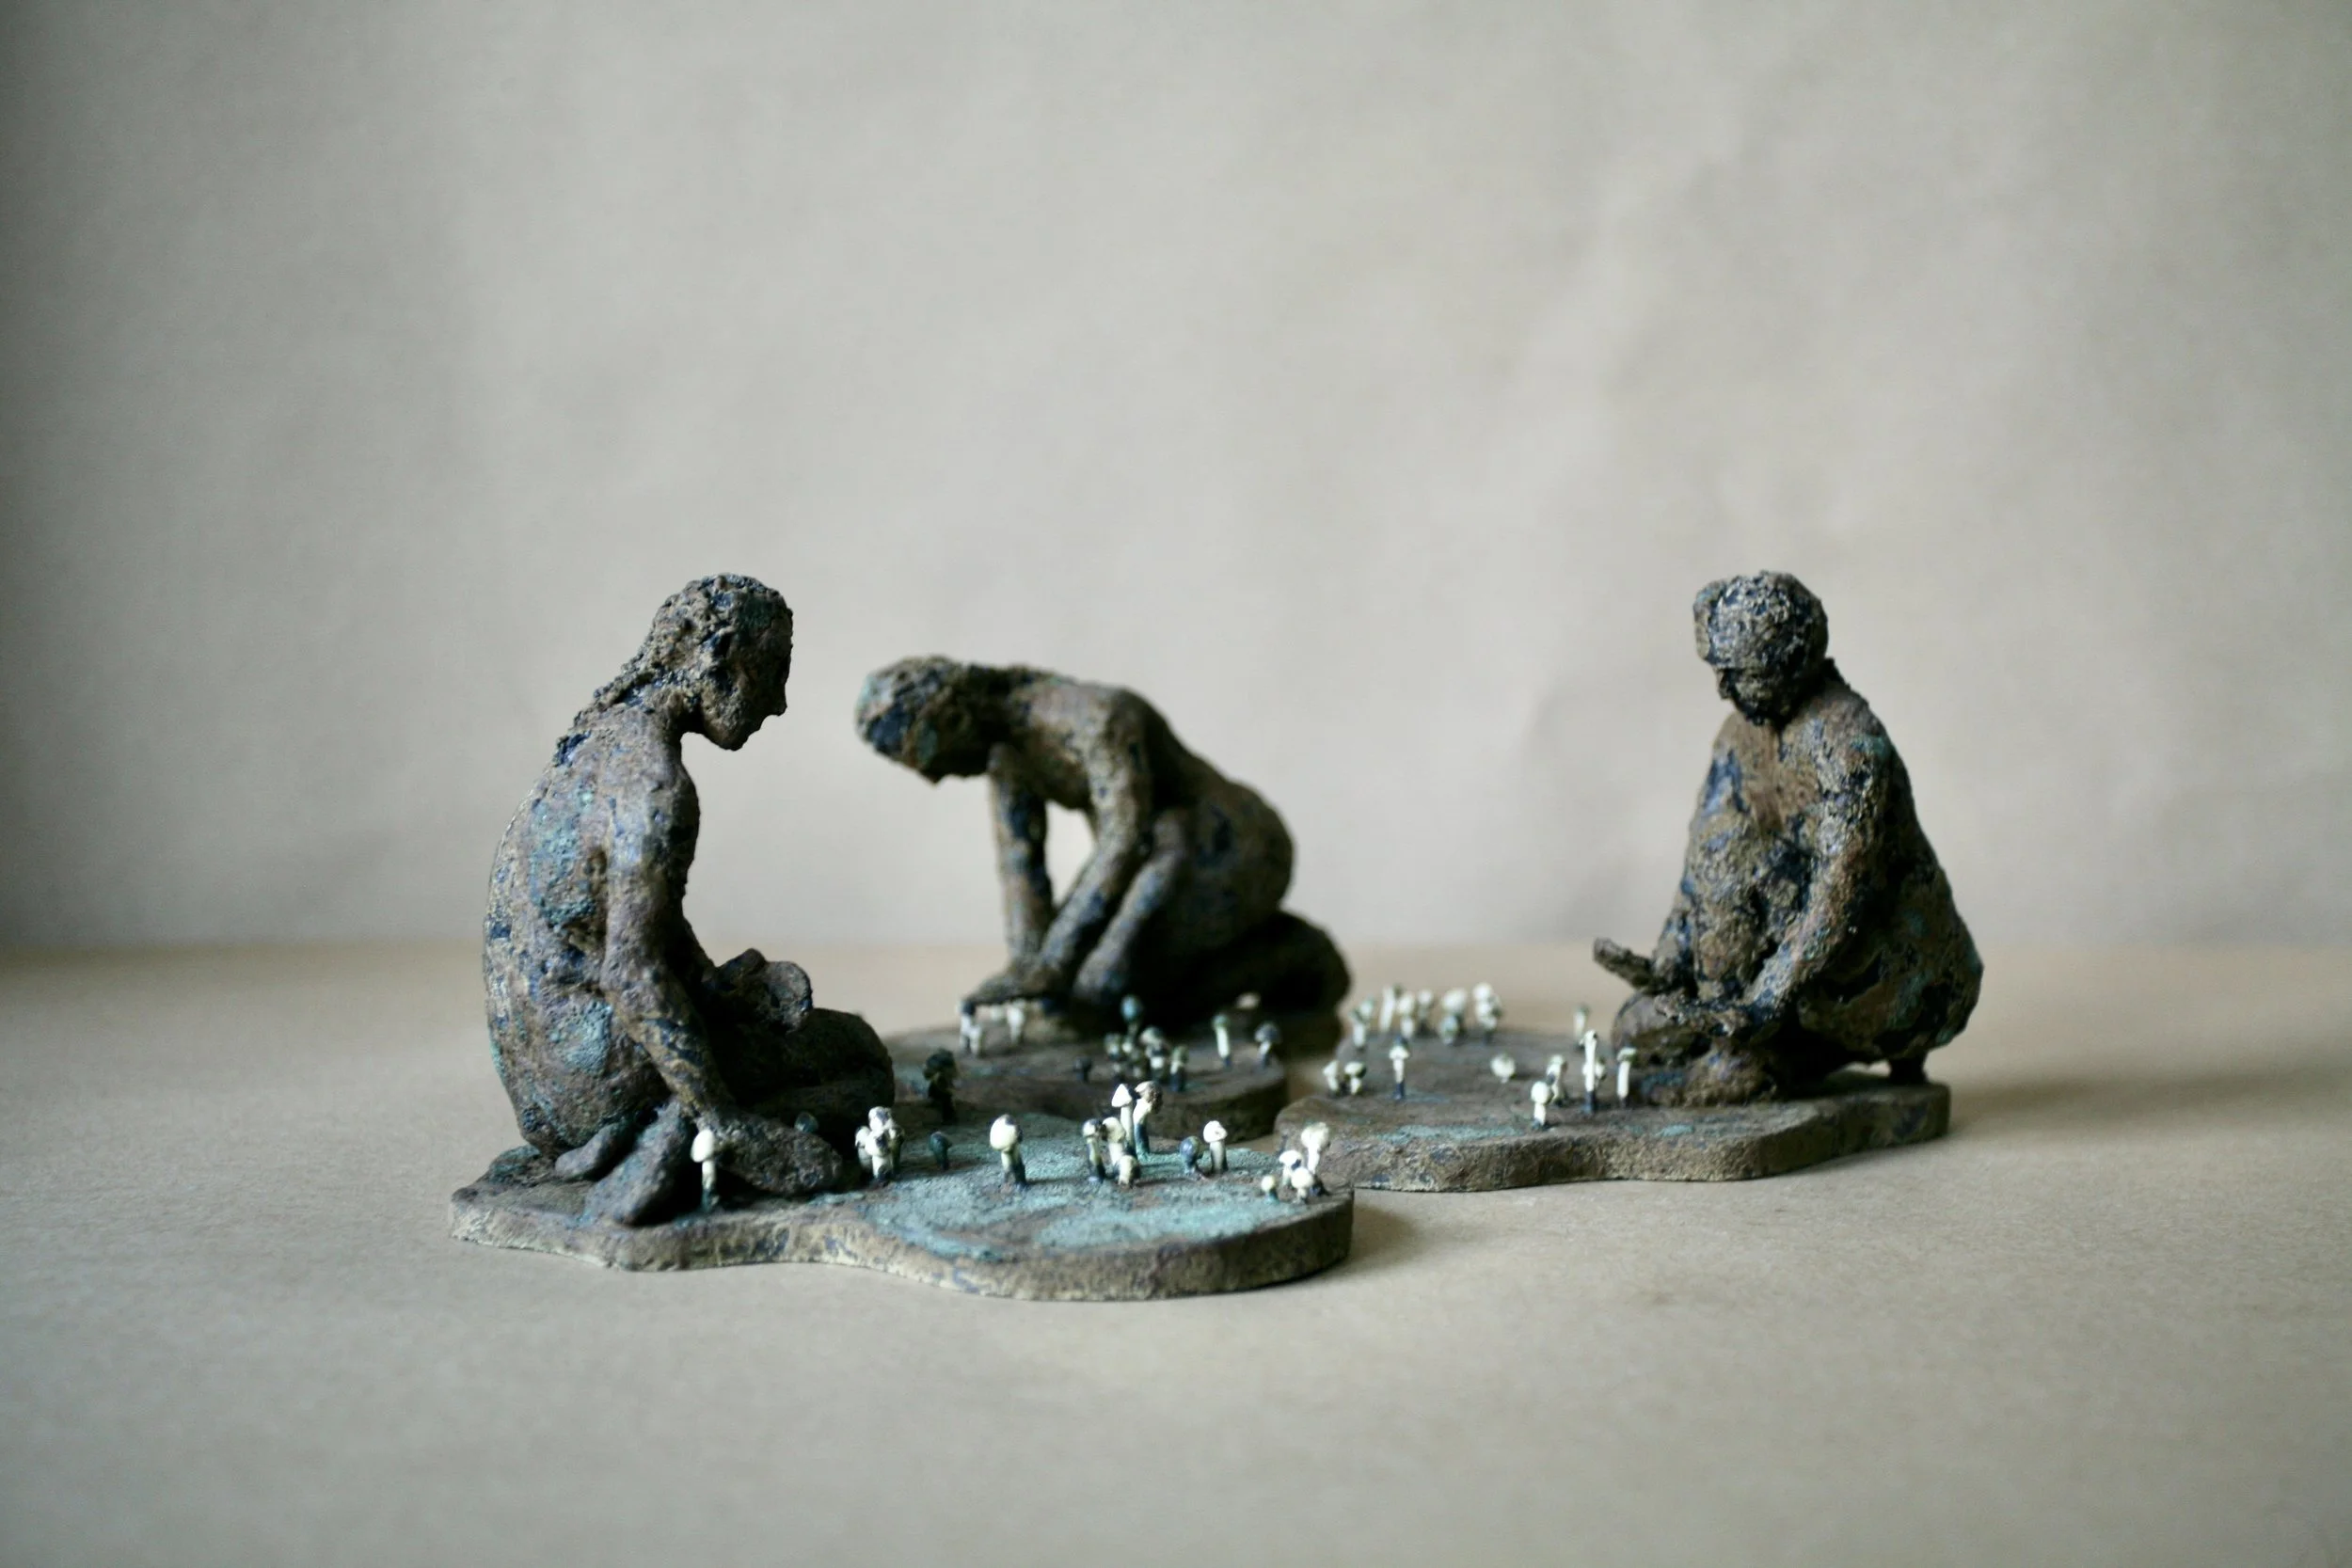
(Image: Gardening figures hunched over a garden with cup mushrooms sprouting)
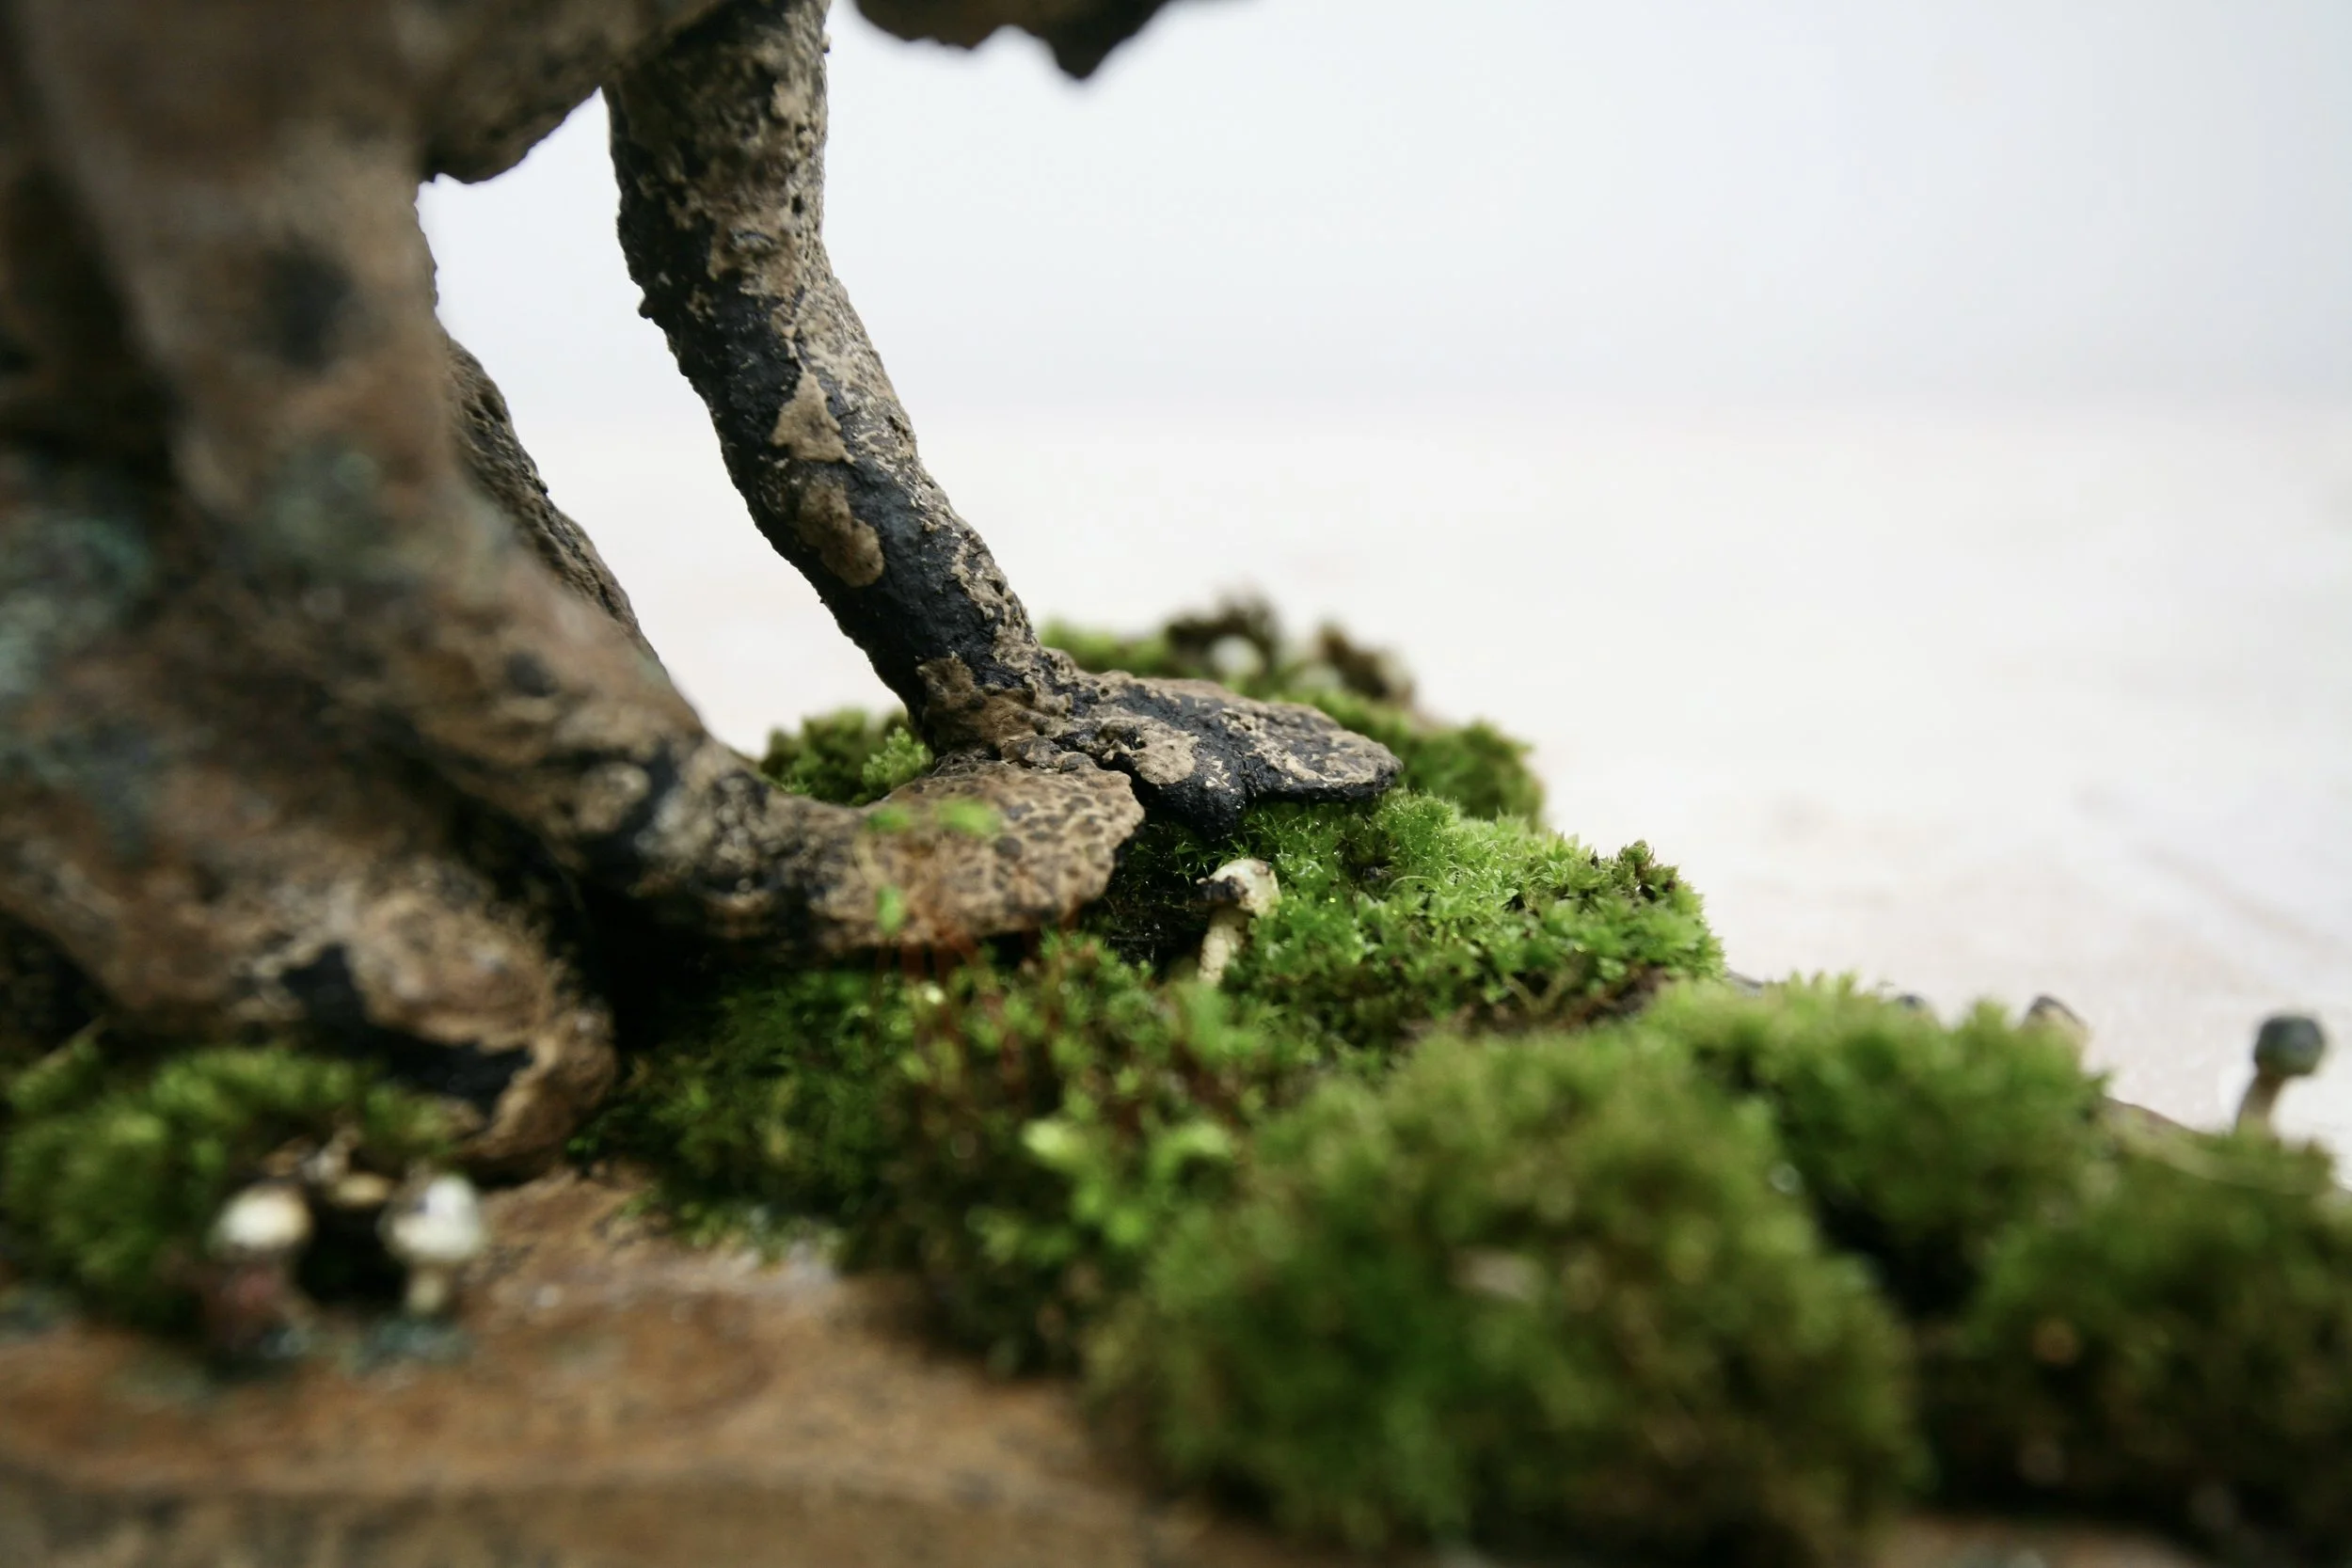
Moss is although a plant, doesn’t actually have any roots or vascular system that welds itself to a surface. To get it to ‘root’ with a pot, the surface needs to be rough, porous, and un glazed so that the moss can keep moist- perfect for my ceramics. The garden sculptures bases are glazed but not all over and my clay is groggy with lots of porous pockets for the moss to latch into.
Harvest Time
My studio is at my parents small farm, with a mixture of woodland and garden blended together. As mentioned above, moss is everywhere making it easy to find and harvest. Outside my studio is stone paving, covered in lichen, moss, and wet leaves; it’s January, with lots of rain, wind, and cold spells. To collect or harvest moss is very easy; using your fingers or a garden trowel, gently lift the moss up from underneath not the hairy top. Once the moss comes up, you’ll see underneath are no roots but a matted flat base.

In most articles i’ve read, to get a moss to grow on a pot you can blend together live moss and yoghurt (live bacteria) to make a paste that can be smeared on the pot. I did try this with one of the sculptures, leaving it for 2/3 months, but mould was growing (horrendous smell) and not moss. Scratch that idea, I decided to do the organic method and let the moss make it’s own home on my sculptures instead of forcing it with yoghurt.
Using a little bit of soil, I simply placed the moss onto my sculpture bases. I left the sculptures in a sunny/shaded area that won’t get direct sun. I’ve tried to recreate the outside area where the moss was originally growing but inside my studio where the wind and rain won’t damaged my sculpture. Once it’s established, I’ll add an update and see whether any new weeds or moss grows over time.
3 month Update
I’ve kept them on a shaded windowsill where theres no direct sunlight and watering them every couple days for 3 months- the moss is still alive!